Pickling vegetables is one of the oldest and most well known food preservation methods, and remains a great way to make use of all your fresh vegetables, either grown in your own garden, or purchased fresh from your local market. It is truly a brilliant way to ensure that none of your hard work in growing vegetables will not be wasted. The process of pickling (or canning) vegetables provides a long shelf life to your vegetables, but it also seals in, and in some cases improves, the nutrients that are naturally present. This article on how to make pickles outlines the traditional method of canning/pickling vegetables, using a fantastic recipe from one out our team member’s Grandmothers – these pickles taste amazing, and retain that ‘crunch’ that is so often sought in these yummy delights.
Overview of How to Make Pickles
There are two types of Pickling, a ‘quick’ method, otherwise known as a ‘quick pickle’, and the more comprehensive and traditional technique, which results in a more full-flavored and savoury pickled vegetable. The traditional method takes a little longer, though the results are far more tasty, and is the technique we will focus on here for how to make pickles. Additionally, we use the Hot Water Bath method for sterilizing/sealing the jars, and though there are other methods that can be used to create the jar’s pressure seal, they require a pressure sealing machine, and it is our preference to work with the most traditional method that doesn’t require more devices and/or equipment and power.
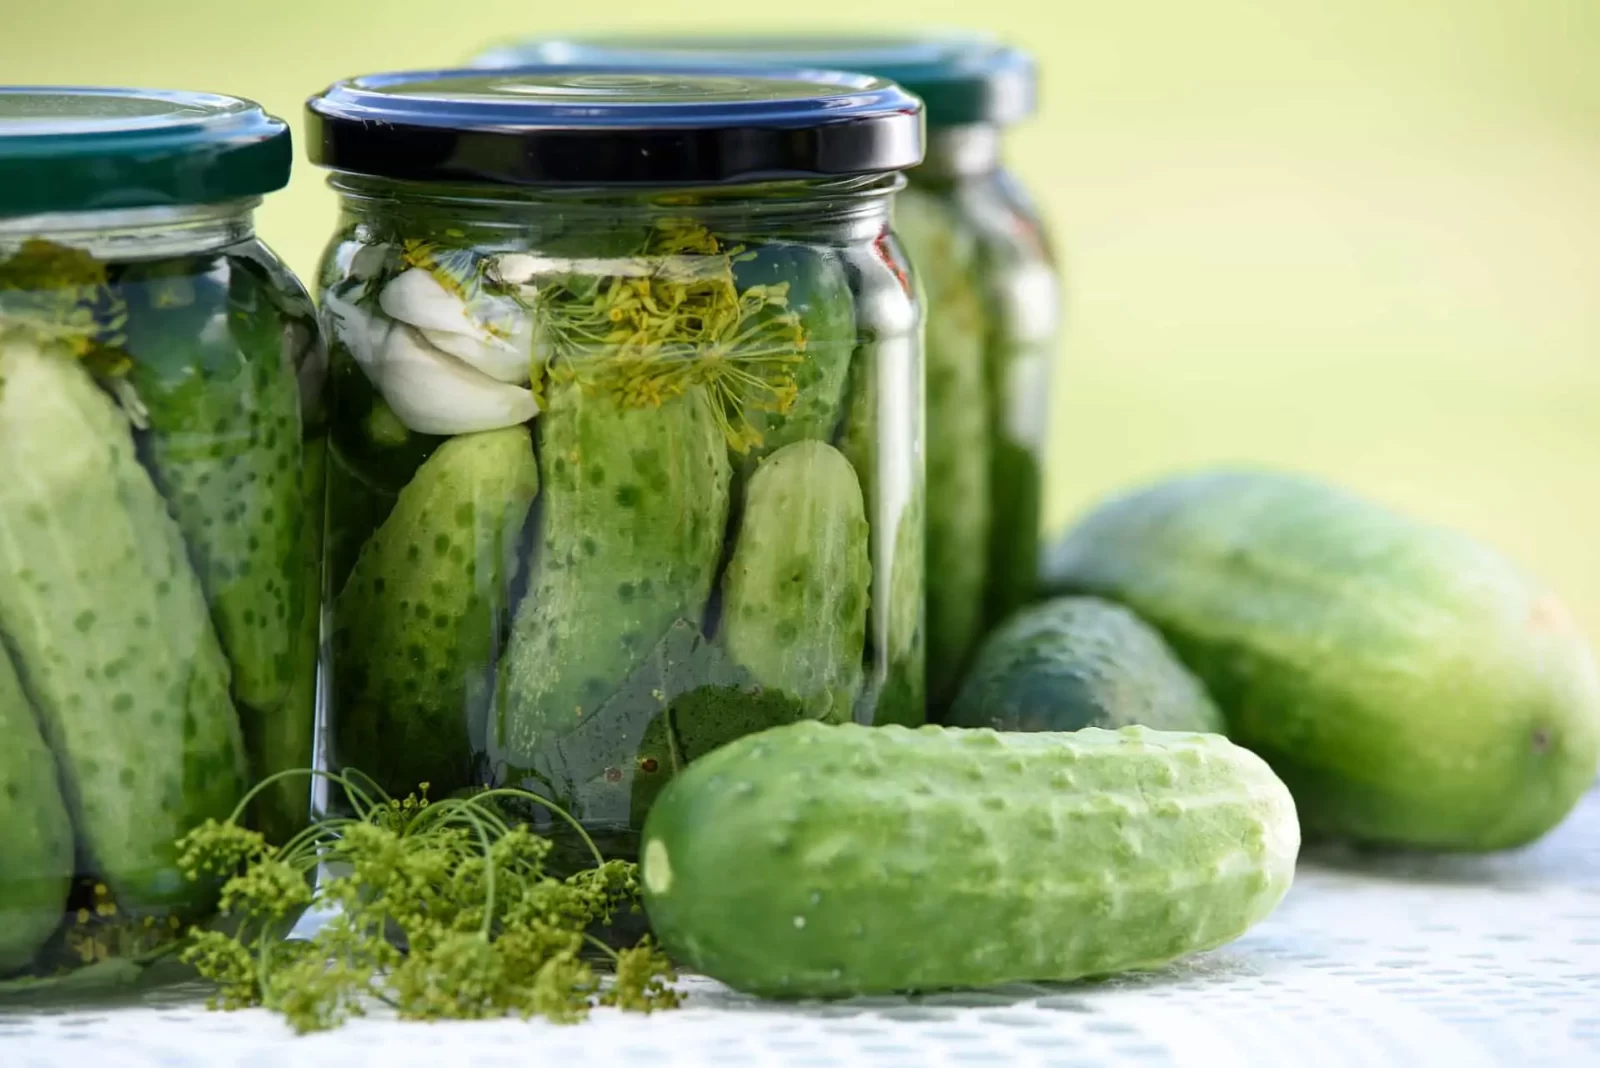
There are a multitude of recipes available for various types of pickles, and we encourage you to explore them, and to be bold in trying new ideas and flavours. The recipe we love 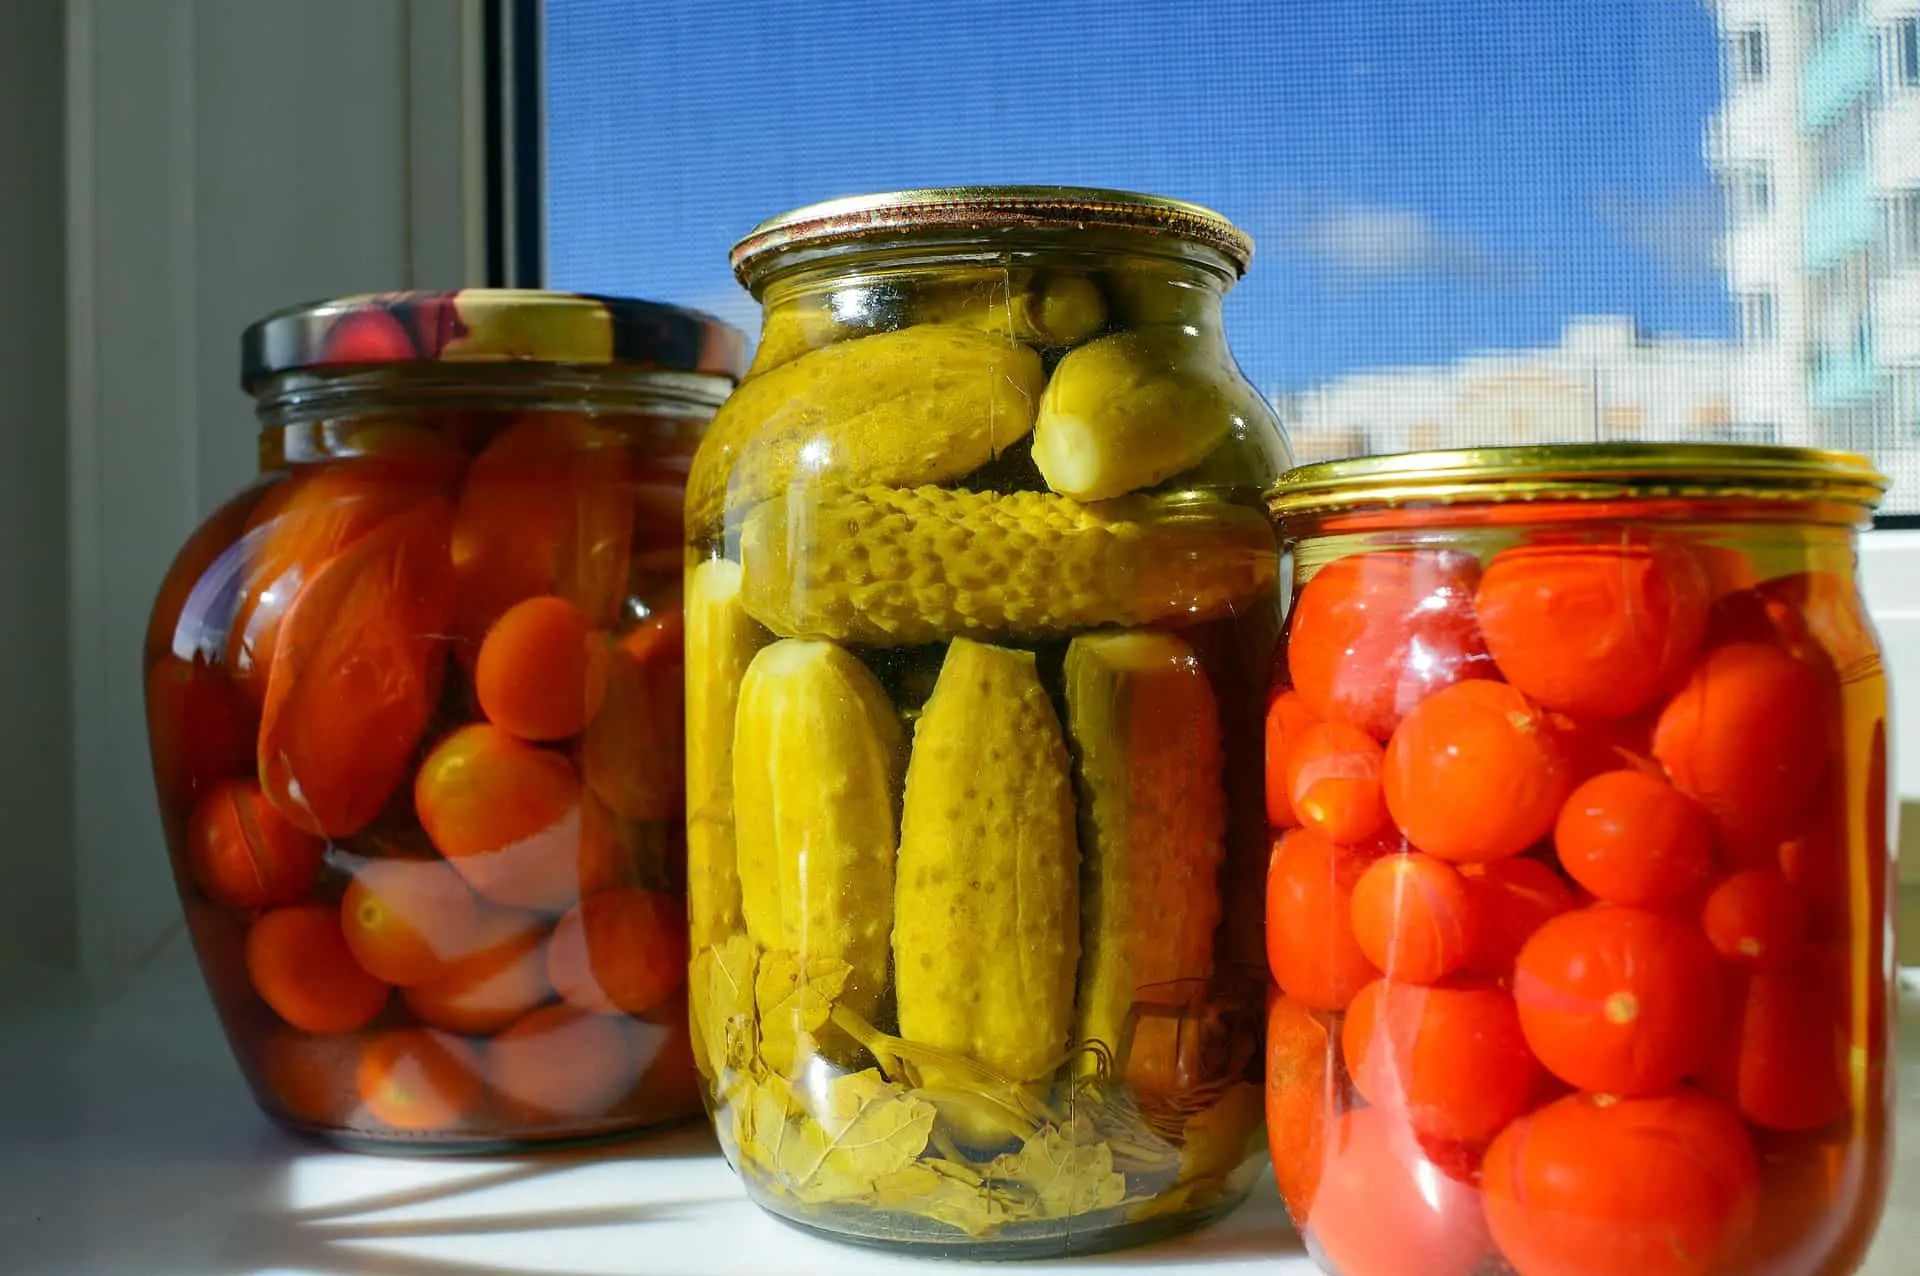 the most, and are regularly enjoying here, is a traditional Garlic Dill Pickle, and we will use it as our reference point here in this article on how to make pickles. This recipe makes pickles that are crunchy, incredibly delicious and flavour filled delights that are incredibly straight-forward to make. You will love the results, as will all the friends and family you serve these to!
For those who would like a printable version of this Garlic Dill Pickle recipe is available at the bottom of the article.
What You Will Need – Tools & Utensils
- 1 large 20 Quart (19 liter) boiling/Stock pot, with a lid (boiling-bath canner)
- A rack for inside the pot (boiling rack)
- 1 large sauce pot for preparing pickling brine
- 7 One Quart-sized (950 ml/32 Ounce) glass preserving jars with lids and rings/sealing bands (new lids are best) – Also, wide mouthed jars will be best for larger pickles.
- Wooden spoons, paring knife, cutting board, ladle
- Jar lifter (for moving the jars when they are hot)
- A funnel (canning funnel)
Quantity of Pickles
8 lbs (3.5 kg) of small cucumbers (tips cut off). The flowering end of a cucumber has an enzyme in it that will cause the cucumber to go soft while in the brine, and for this reason it is recommended to remove it prior to canning.
Additionally, it is best to consider specific pickling cucumbers when making pickles. The 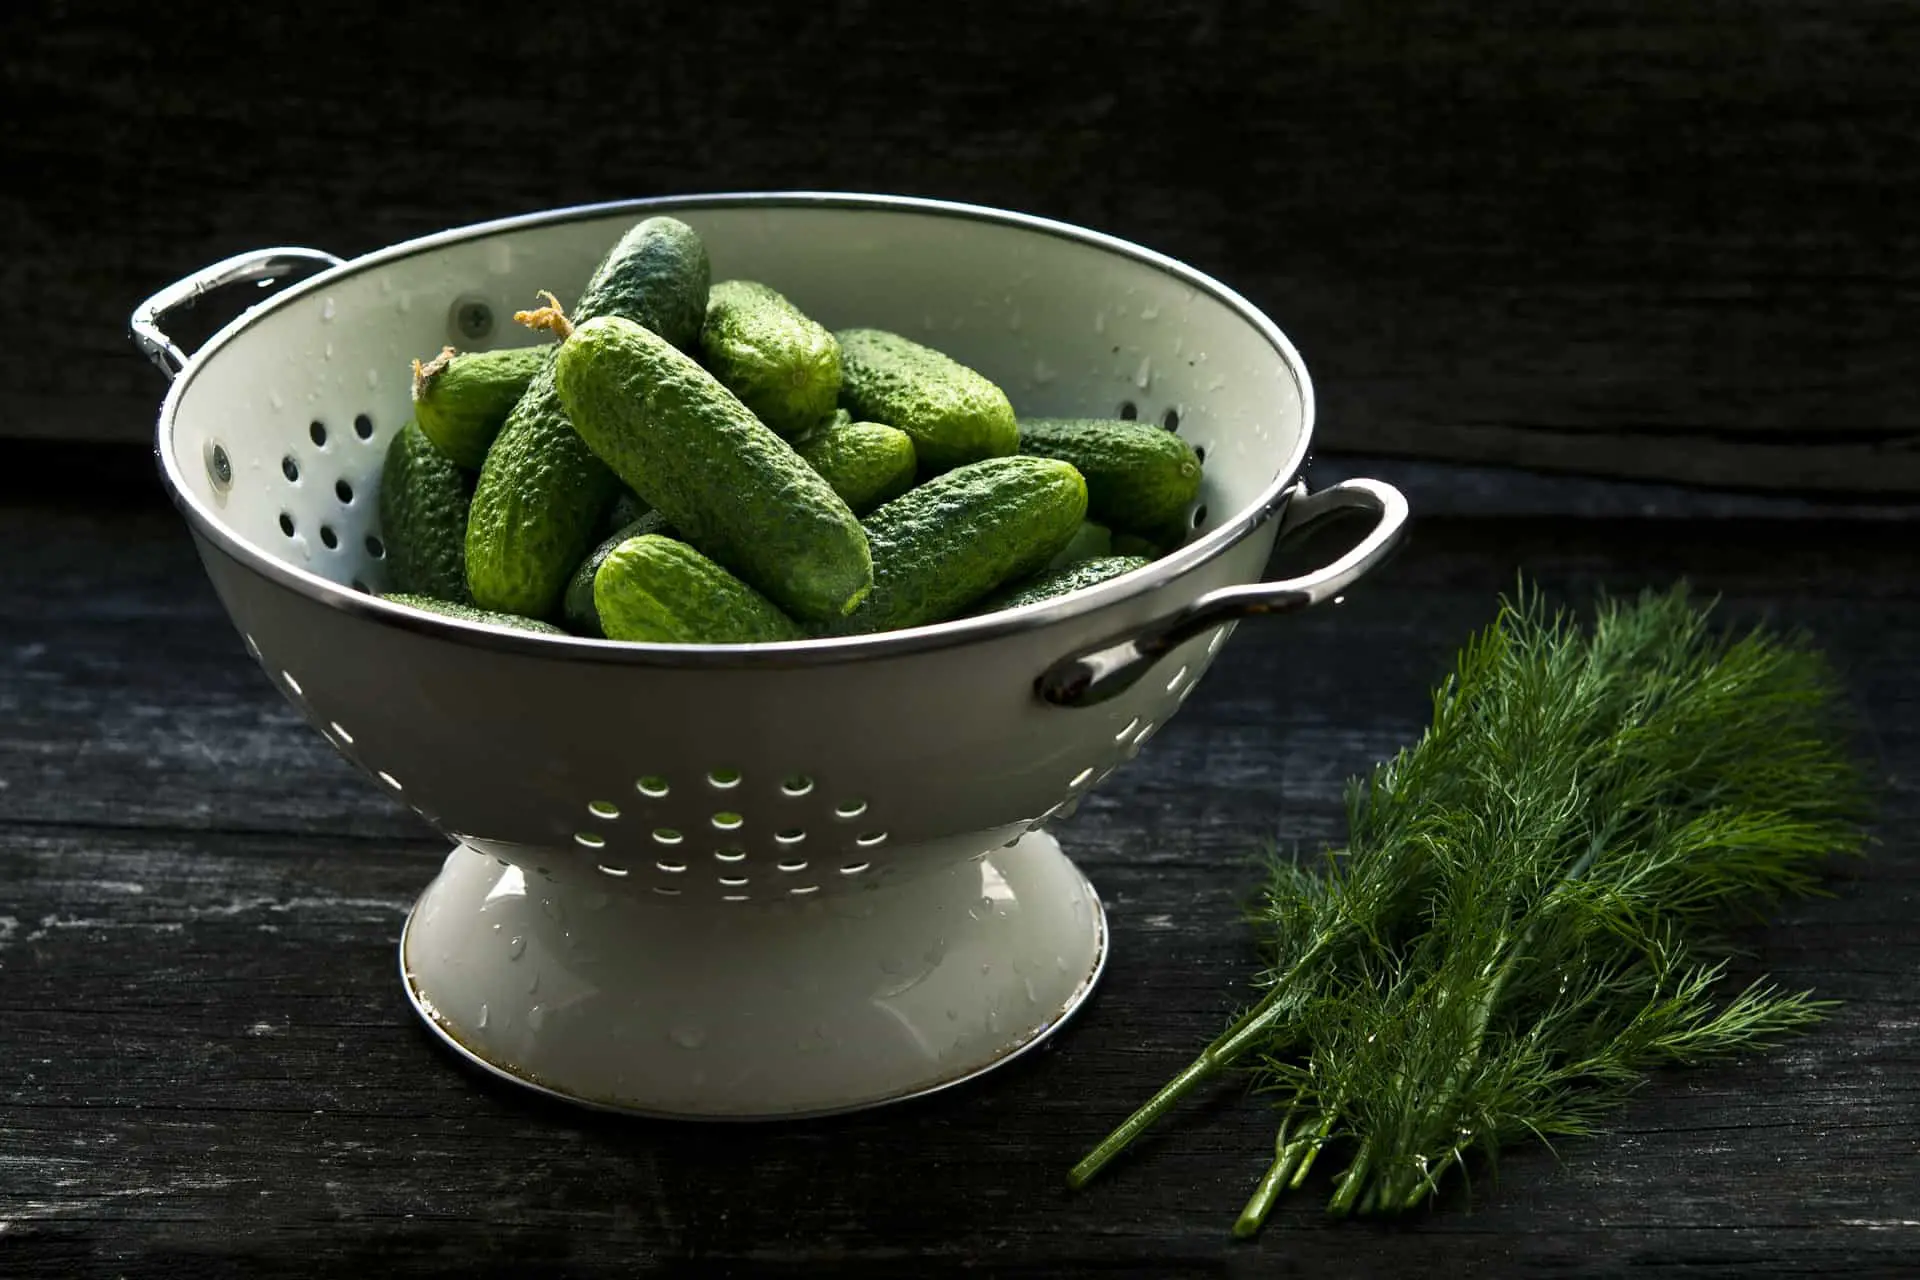 types of cucumber you will buy from most grocery stores are not ‘pickling’ grade, and will not taste as good, as they are generally intended for eating fresh. Furthermore, the processing and storage period required for most store-bought items means they will likely have additional preservatives, wax and other substances on them that could adversely affect your results. For the best results, try to find locally grown pickling cucumbers.
Ingredients – Pickling Brine (7 Quart Sized Jars of Pickles)
- 8 cups distilled white Vinegar (use vinegar with 5% acidity)
- 1 cup of pickling salt
- 1 cup of granulated sugar
- 8 cups of pure fresh water
Tip: Pickling salt is free of preservatives and iodine, and this is recommended when canning or pickling
Ingredients – Pickling Spice Mix
- 14 cloves garlic halved (2 cloves per jar – they should be halved before placing them into the jar)
- 7 Dry bay leaves (1 per jar)
- 7 Teaspoons of Mustard Seeds
- 7 Teaspoons of Coriander Seeds
- 3 1/2 teaspoons of Allspice Berries
- 2 1/4 teaspoons dried hot red pepper flakes (1/4 teaspoon per jar)
- 14 full bushy Dill Stems cut to 3″ (8 cm) pieces (2 stems per jar) – dill with the tip
- flowers still on them are the best for this, but not necessary.
Step 1 – Cleaning and Preparing Your Cucumbers
When learning how to make pickles, you have to choose fresh cucumbers (ideally within 24 to 36 hours of picking if you have harvested them yourself). Ensure you have washed the cucumbers VERY thoroughly, to ensure there is absolutely no dirt or soil on them, as this may cause bacteria. It is also recommended to place the cucumbers in a clean tub of cold water for 2 hours, to help remove any lingering residue (add ice to make it very cold). Remove the tips of the cucumbers with a small pairing knife – this will prevent the pickles from becoming soft. Finally – do not use any of the cucumbers that may already seem soft, or are showing any signs of mold or mildew.
Cleaning Tip: molds are the most common form of spoilage with pickles. Yeast also on the pickles can create spoilage, and should be avoided. These two common things are highly resistant to the acidity of vinegar. It is critical that you properly clean your cucumbers to ensure there is no remaining bacteria remaining. For a great overview of food preservation in general, there is an excellent resource provide by NDSU – Canning & Pickling
Step 2- Preparing the Brine Recipe
In a large sauce pot, combine 8 liters water, 8 liters of vinegar, 1 cup sugar, 1 cup of pickling salt. Bring pickling juice to a simmer for 5 minutes, and then boil lightly for another 5 minutes before reducing the heat to simmer.
Step 3 – Sterilizing and Preparing Jars and Lids
The first step in the process, is to ensure that the jars and lids you will use will be clean 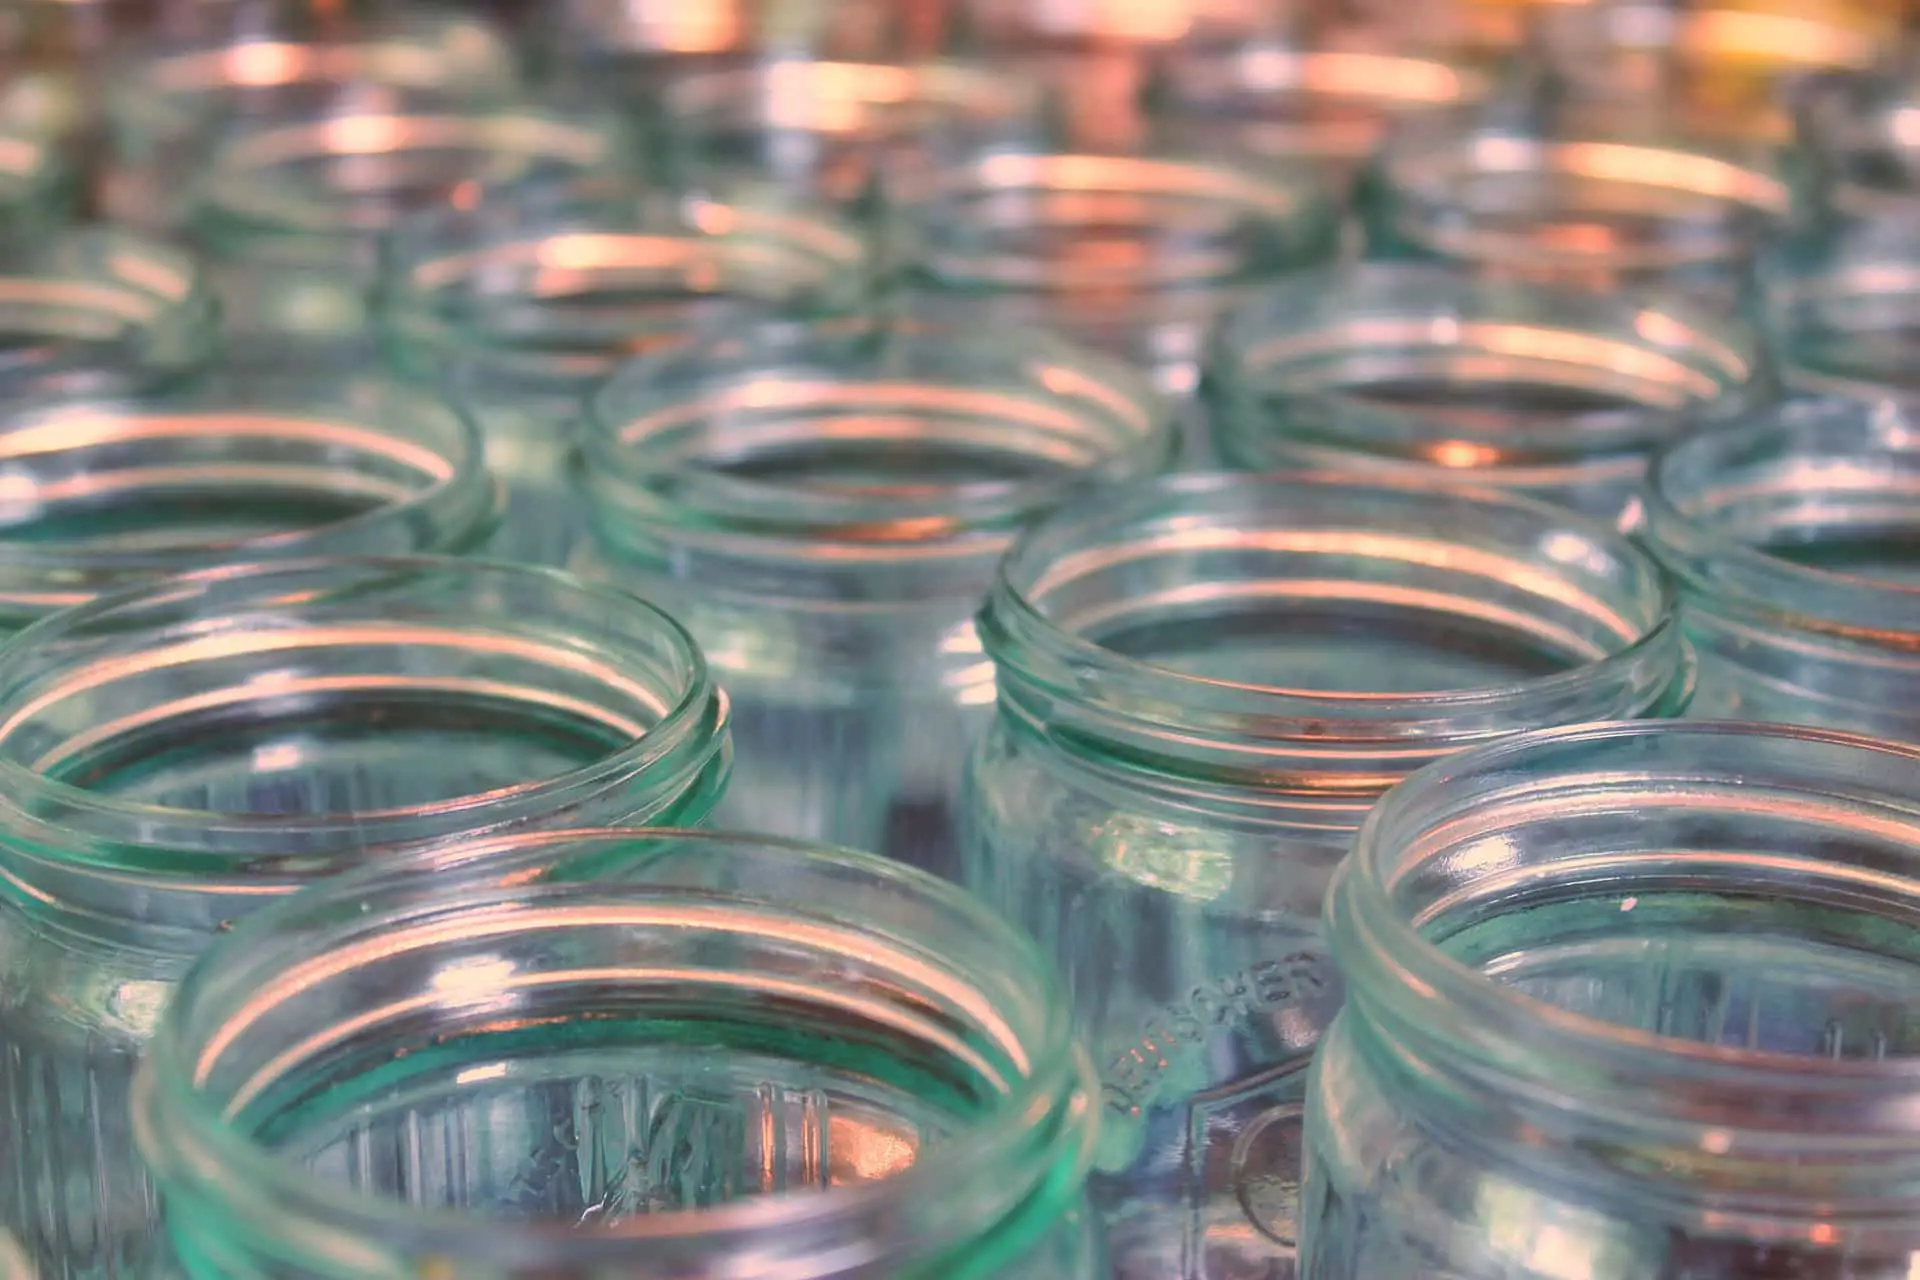 and sterilized, and ready for you to place your ingredients in to. The process is very simple, and followed correctly it should ensure you have clean and clear jars to help you make the perfect canned goods.
- Using your large 20 Qt (19 Liter) sauce pan, place the boiling rack inside and fill with fresh water.
- Bring the water to a warm temperature, and place your jars (right-side-up) into the water, ensuring that the jars fill with water, and there is about 1 in (2.5 cm) of water above the jars.
- Place lids and sealing caps into the water with the jars
- Bring the water to a boil
- Boil the jars and lids for 10 to 15 minutes
- After boiling, remove the jars using the Jar Lifter one at a time (Go to the next step, and complete it one jar at a time, as you remove them from the boiling water). It is best to fill each jar immediately after removing it from the hot water.
Step 4 – Filling the Pickle Jars
Fill each jar as follows: (one jar at a time, while leaving the remaining jars in the boiling water)
- Add 2 stems of dill, 2 cloves of garlic (halved), 1 bay leaf, 1 teaspoon of mustard seeds, 1 teaspoon of coriander seed, 1/4 teaspoon of pepper flakes to the jar (this quantity is repeated for each jar)
- Now completely fill the jar with the cucumbers – tight enough to fill the jar, but not so tight that they can not be moved around. Ideally, the whole mixture should be tight enough, so that when the brine is added, it can fill the jar without the pickles floating to the top.
- Using the ladle, and the funnel, fill each jar to within 1/2 inch (2 cm) of top of the jar with the brine recipe you have prepared
- Use a metal knife or spatula to move the ingredients around to remove any remaining air bubbles from the mixture
- Wipe the top rim and threads of the jar using a clean, damp cloth to remove any food residue.
- Center lid on the jar with the ceiling cap/rubber and adjust until there is a good fit – tighten using only your finger tips
- Place completed, filled and sealed jar on a towel.
Repeat steps 1 through 7 until all jars are filled.
Step 5 – Final Processing of Filled Jars
Once you have all the jars filled with the cucumbers, pickling spice and your prepared brine, they should now be closed with the lid on and ready for final ‘sealing’. This process uses boiling water to ‘seal’ the lid, and create the air-tight lock that is required to protect and preserve your pickles.
- Place all your jars onto your canning rack inside the large pot, which should be filled with around 5 or 6 inches (12-14 cm) of hot water.
- Once all the jars are placed, add more hot water until the jars are completely covered by an additional 2 inches (5 cm) of water.
- Cover the pot with the lid, and bring the water to a boil.
- In general, the length of time you will be required to boil the jars for, will depend on the height your location is ‘above sea level’. While this is certainly an estimated length of time,
 the general rule of thumb is fairly straight forward. As a base, you should boil your pickles for at least 5 minutes (at sea level), and then add 5 minutes for each addition 1000 feet that your location may be above sea level. This means, for example, if you live in Seattle, which is basically at sea level, you would only boil for 5 minutes; whereas, if you live in Idaho, you would add 5 minutes of boiling time for the additional 1000 feet of height (est.). You can use your mobile phone’s GPS to determine your location’s elevation, or there is a very simple tool available for checking your elevation.
 - Remove jars from the water using the Jar lifter, and place on a towel
- Let the jars sit and cool completely
- Once they are cooled, press the center of the lid to ensure it is ‘sealed’. If the lid ‘clicks’ or pops, and has a slight convex kind of bubble on it, then the seal has not been completed.
Step 5 – Shelving and Aging
Once your jars are filled and complete, they need to be stored in a dark area at between 65-85 degrees (18-22 Celsius). You should make a point of checking your new pickles regularly. You must allow your pickles to sit for 10 to 14 days. You can let them sit longer, and there is no problem, though the longer pickles sit, they will increase their sour flavour. This is desired by many, so try them and decide for yourself if you like them as they are, or prefer a more sour dill flavor.
The first stages of fermentation will release carbon dioxide from the solution. For this reason, you should check your jars regularly 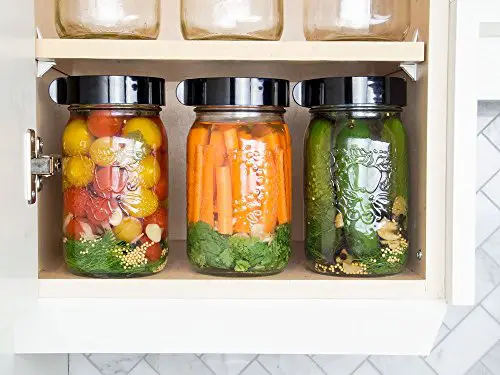 (daily) to see if the lids are building up pressure. If it appears there is increased pressure, or the lid feels as though it is building, take a moment to quickly unscrew the lid slightly and let out a quick burst of air, and quickly screw the lid back on. This will ensure your pickles turn out perfectly.
Once you have completed everything, one of the important elements of how to make pickles is to store all your pickles in cool dark place, such as a basement, or old room. Any place that consistently stays below 65 degrees (18 Celsius). It is also possible to store them in a refrigerator, and for many people this is the preferred method of storage.
Lastly – ENJOY your fantastic tasting, crunching and delightful new garlic dill pickles!
Summary – How to Make Pickles
This is the tried-and-true method for how to make pickles – it is a traditional method, used for generations, and provides you with an amazing tasting pickle, with that much appreciated ‘crunch’. The basic technique is very straight-forward, and while the text may seem overwhelming, once you get the basic idea of sterilizing and sealing the jars with the hot-water bath, the rest is incredibly easy. We have mentioned that this is a classic Garlic Dill Pickle recipe, though you are encouraged to try new and exciting recipes, and discover what flavours excite you the most. As a final note, this same process can be used for most vegetables, including carrots, or nearly any other vegetable you can think of. While the recipes may vary, the basic principles will remain the same using this method.
For some other great articles and wholesome cooking ideas, check out our in-depth How to Make Beef Jerky at Home guide, and learn more about another simple technique for creating this famous, delicious and popular preserved food. Also be sure to check out all of our articles for some great Cooking & Eating inspirations that we’ve highlighted at TAG Level.
Let us know your thoughts, as we love to hear from you!! Be sure to Join Us to get future updates and other great inspirations and ideas from TAG Level.
