Transforming ordinary, outdated furniture into eye-catching, weathered pieces can add charm to your home decor. This distressed furniture how to guide will help you master easy techniques for that antique, rustic, shabby chic look. So, buckle up and get ready to turn your old furniture into masterpieces with our comprehensive tutorial and helpful tips on distressing wood and furniture.
Getting Started: Choosing the Right Furniture for Distressing
Selecting furniture pieces with character
Choose furniture with interesting shapes and natural texture to accentuate their antiquated appearance. Curvy lines and intricate details will create a more appealing distressed wood look compared to plain pieces, and give the piece a more authentic look.
Classic and authentic raw wood shows wear and tear in a much more elegant fashion that other painted surfaces. Original wood furniture and decor with bare wood makes the 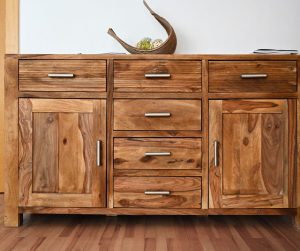 perfect surface to start with if it’s available. If your chosen furniture already has a coating, and you want to remove paint, one great idea is to remove some of the paint with a wire paint stripper before hand. This technique, if used sparingly, can add to the vintage look of your final piece, and some true flair to your interior design!
If you are making furniture from scratch, you could even consider using barn wood as your finishing wood, and newer wood beneath for stability and durability. This gives you a solid framework, while providing you with a great external surface to work with with, and provides a variety of different ways to distress furniture pieces that are designed to fit your precise vision.
Important features to consider
Look for well-constructed furniture made of solid wood, as these are easier to distress and hold up better over time. Inspect the piece for any damage, like loose joints or cracks, and make necessary repairs before proceeding.
Materials to avoid for distressing
Stay away from particle board, MDF, or veneer furnishings, as they don’t distress well and often result in an unpolished, fake appearance.
Different Distressing Techniques for the Weathered Wood Look
Using sandpaper to distress painted furniture
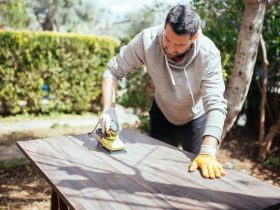
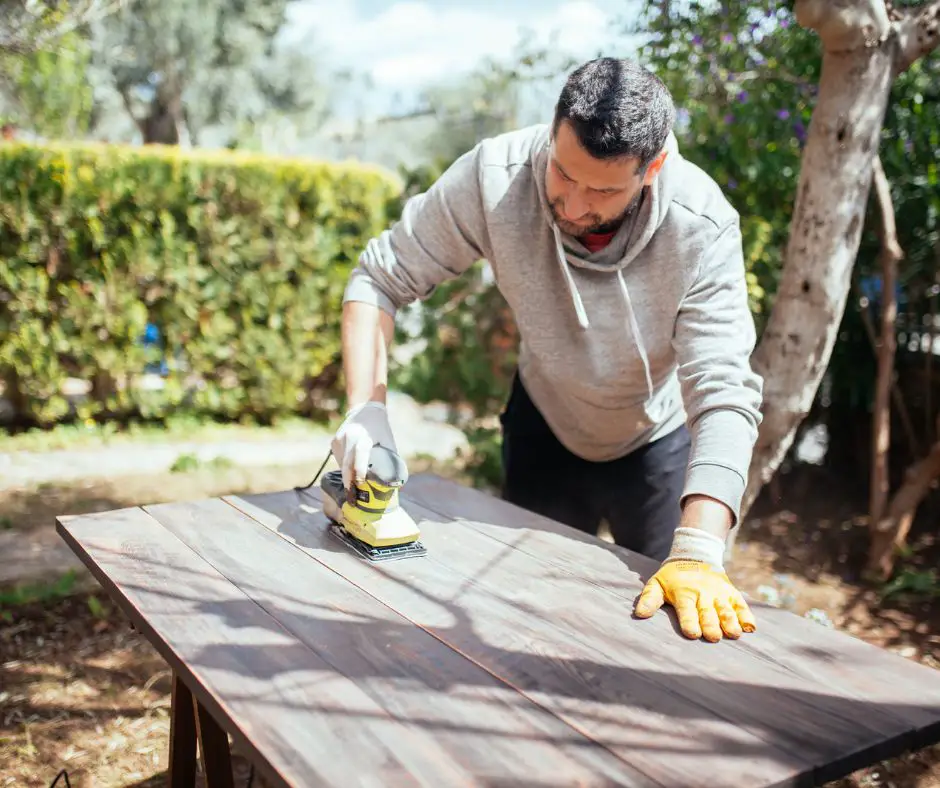
One of the easiest ways to get started is to simply grab a piece of medium or fine grit sandpaper and gently sand areas where paint would naturally wear, such as edges, corners, and raised details. Continue sanding until the desired distressed look is achieved, revealing underlying wood or a base coat of paint on your piece of furniture.
Creating a weathered wood look with dry brushing
Dip a dry brush into the paint, removing excess paint from the bristles. Then, lightly brush the paint onto the furniture using a stippling or dabbing motion. Focus on areas where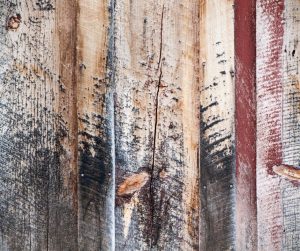 natural aging would occur, or cover the entire piece for a more uniform effect.
Whitewashing for a softer distressed look
Mix equal parts of white paint and water, and apply the mixture onto the wood using a clean rag, allowing as much or as little wood grain to show through as desired. This technique adds a subtle, weathered look to your furniture, perfect for achieving a farmhouse aesthetic.
What Grit Sandpaper is Best to Distress Wood?
In most cases, a fine grit sandpaper is your best option to get the look you want. Like any diy project, you will want to start lightly, and work slowly to get a sense of how the effect is ‘coming together’ as you go. Working with more course grained papers can give your wood or furniture a damaged look, rather than the aged look, which is not the effect you are 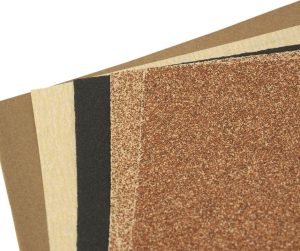 likely going for. If you’re working with furniture that is already aged to some degree, finer grained sandpaper will provide you more subtle control over the effect you’re creating.
Paint Options for Distressed Furniture Projects
Chalk paint: a popular choice for distressing
Chalk paint dries quickly and creates a matte, chalky finish that’s perfect for distressing. Its high pigment content and thick consistency provides excellent coverage, allowing you to distress with ease.
Milk paint: an eco-friendly alternative
Made from natural ingredients, milk paint is an environmentally friendly option that adheres well to wood and delivers a rustic, chippy paint finish. Since it’s water-based, it distresses easily with a damp cloth or sandpaper.
Choosing the best paint for a weathered wood look
Experiment with different types of paint to achieve the weathered look you desire. If you crave an aged, worn appearance, opt for chalk or milk paint, while latex or acrylic paint provides a smoother, cleaner finish that’s ideal for more subtle distressing.
Step-by-Step Guide to DIY Distressed Furniture How To with Chalk Paint
Preparing your furniture for distressing
Clean your furniture thoroughly, removing dirt, dust, and grime. Then, remove any hardware, such as handles and hinges, and sand the piece lightly to promote paint adhesion.
Applying the paint and achieving a top layer of color
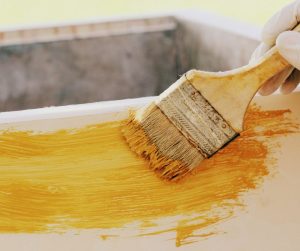 Apply the chalk paint using a high-quality brush, going with the wood grain. Chalk paint dries quickly, so work in small sections for an even finish. Allow the first coat to dry completely before applying a second coat if needed.
Distressing your furniture using a wet-sand method
Once the final coat of paint is dry, use a damp cloth to rub away paint from areas you want to distress, such as corners, edges, and other high-traffic spots. Rinse the cloth frequently to avoid smearing paint.
Additional Tips and Tricks for Perfect Distressed Furniture
Perfecting the unfinished, weathered look
Less is often more when it comes to distressing: focus on areas where natural wear would occur, and avoid over-sanding, which can create an artificial appearance.
Adding finishing touches with staining techniques
Apply wood stain or glaze over the distressed paint to create depth and character. Wipe away excess with a clean cloth, and let the stain dry completely before sealing with a clear protective finish.
Maintaining the beauty of your distressed furniture
Regularly dust and clean your distressed pieces using a damp cloth, and avoid abrasive cleaning products that can damage the finish. Touch up distressed areas as needed to preserve the charm and beauty of your reclaimed masterpiece.
By following this comprehensive guide to distressing wood and furniture, you’ll be well on your way to becoming a DIY distressed furniture pro. Experiment with different techniques and paint types to find the perfect combination for your unique piece. With practice, you’ll create stunning, one-of-a-kind furniture that adds character and charm to your home.
Conclusion – Our Distressed Furniture How To
The art of creating distressed furniture involves skillfully applying methods to achieve a worn and aged look. This enhances the aesthetic appeal of the piece and gives it character. Some key take-aways from the details provided are noted below for easy reference:
- One of the essential techniques in distressing furniture is using fine-grain sandpaper to roughen the surface and create a smooth finish, allowing for easier distressing.
- When choosing the type of paint to use in your project, consider the base of the furniture piece and if it requires priming.
- Different paint options include chalk paint, milk paint, and latex paint, each with their unique properties and finishes.
- Chalk paint is popular due to its easy application and lack of need for a primer, while milk paint offers an authentic vintage look. Latex paint, on the other hand, is versatile and widely available.
- Remember to apply a topcoat or wax to protect and seal the painted surface.
- Choosing the right wood for your distressed furniture piece is crucial, as it will impact the overall look and durability. Some suitable wood options include pine, oak, mahogany, cherry, and walnut.
- When selecting a piece of furniture to distress, you can choose from various styles like farmhouse, shabby chic, coastal, and French provincial. Regardless of the style, the key is to embrace imperfections and display them as a feature for a truly one-of-a-kind look.
Ultimately, the process of distressing furniture is creative, rewarding, and allows you to personalize your living space while showcasing your style. By understanding these custom furniture techniques and selecting the right materials, you can transform any piece of wood or furniture into a masterpiece that combines rustic charm with modern sophistication.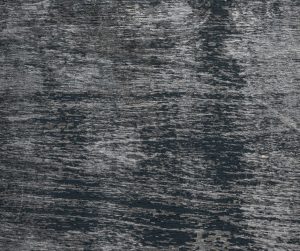 Happy distressing!
If you’re looking for a great way to make any piece of wood look rustic, with an authentic old-world charm – then distressing is the perfect way to go! You’ll love the look once you complete your project, and you’ll be distressing furniture like a pro in no time! We hope you’ve enjoyed this “distressed furniture how to” we’ve put together, and would love to hear how it worked out for you, so get in touch and let us hear your experiences.













Leave a Reply